The Nightmare of “Over-Gluing”
Low-viscosity super glue is a double-edged sword. Its ability to penetrate tiny gaps is unmatched, but it flows like water.
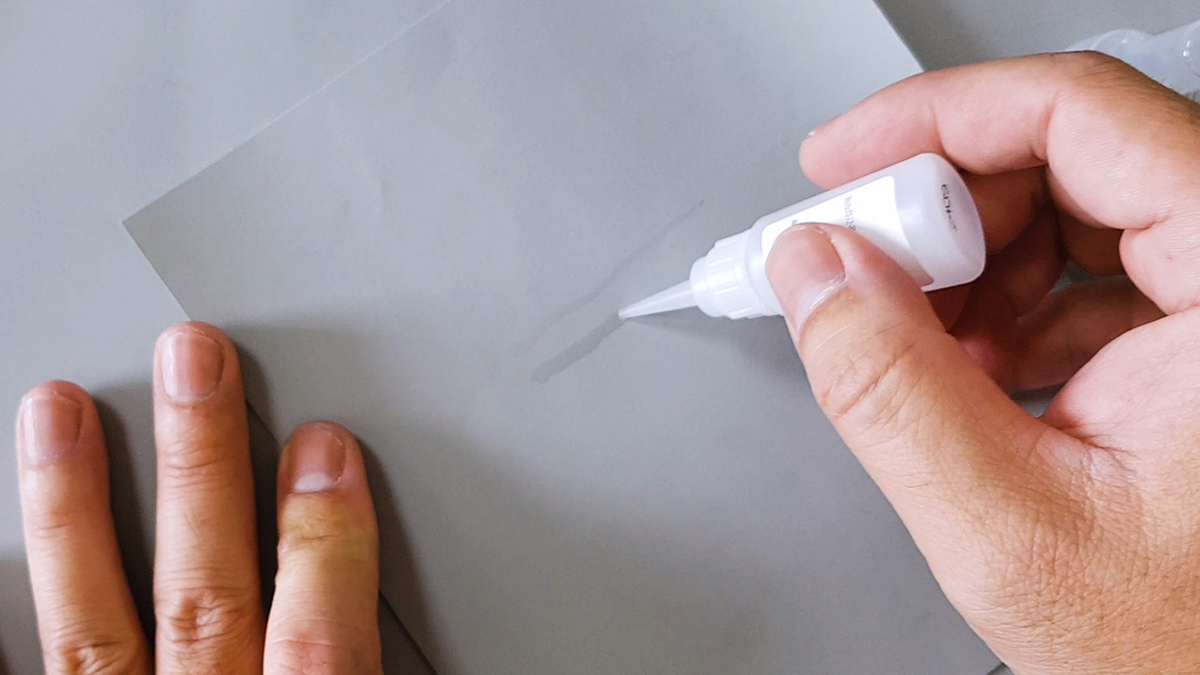
We’ve all been there: you aim for a tiny drop on a delicate scale model or a fine jewelry piece, but the standard bottle nozzle dispenses a massive blob, melting the plastic or ruining the finish.
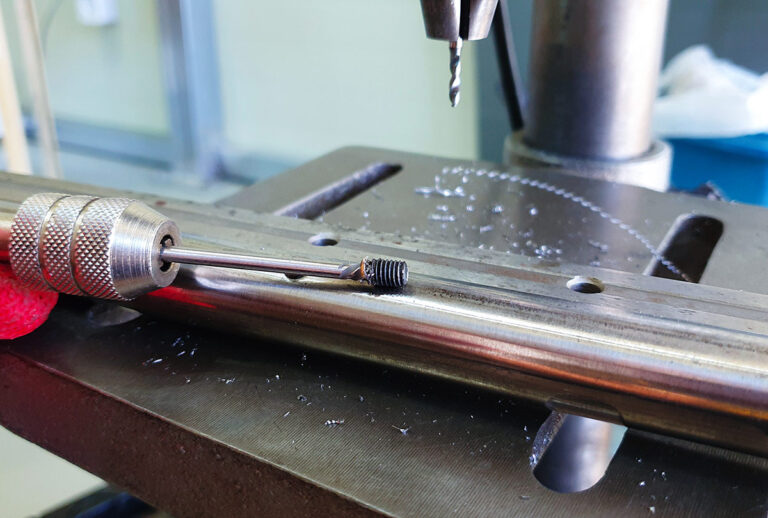
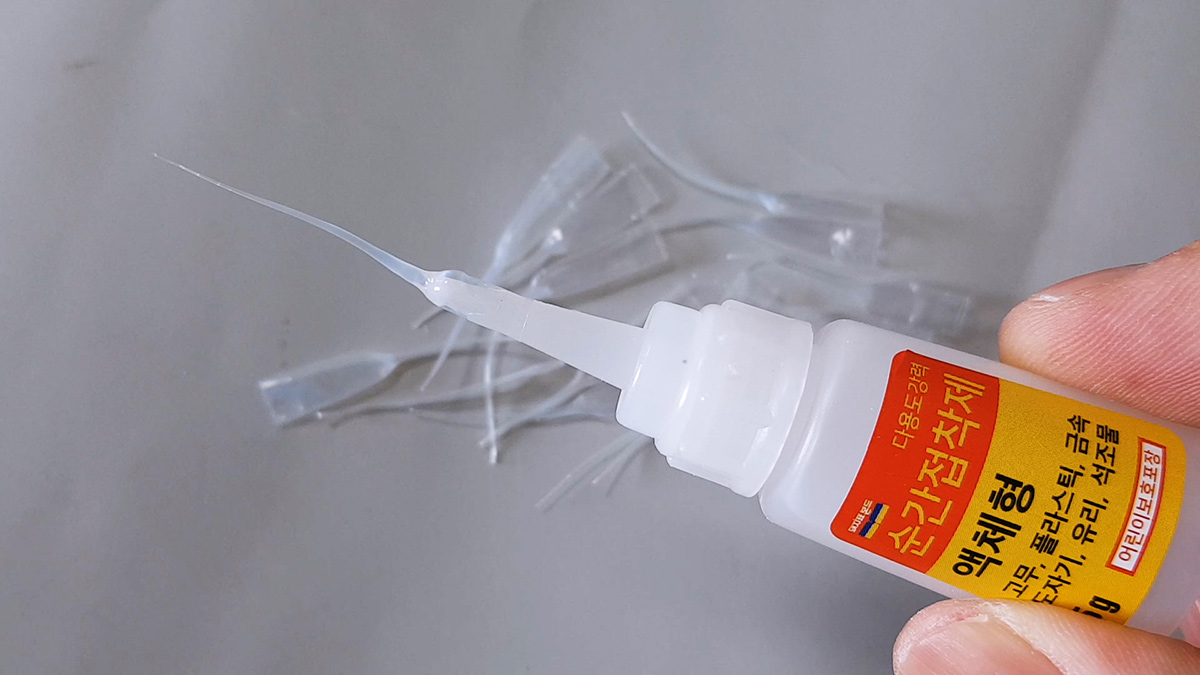
To prevent such disasters, you need a fine extension tip like the one shown below to control the flow.
Of course, you can buy similar micro-tips online. They are cheap. However, knowing how to make your own is a superior skill. Whether you’re in the middle of a precision electronics repair and can’t wait for shipping, or you just enjoy the process of crafting your own tools, this method gives you a reliable way to create a custom tip for any surgical application.
Why Standard Heat Shrink is a Headache
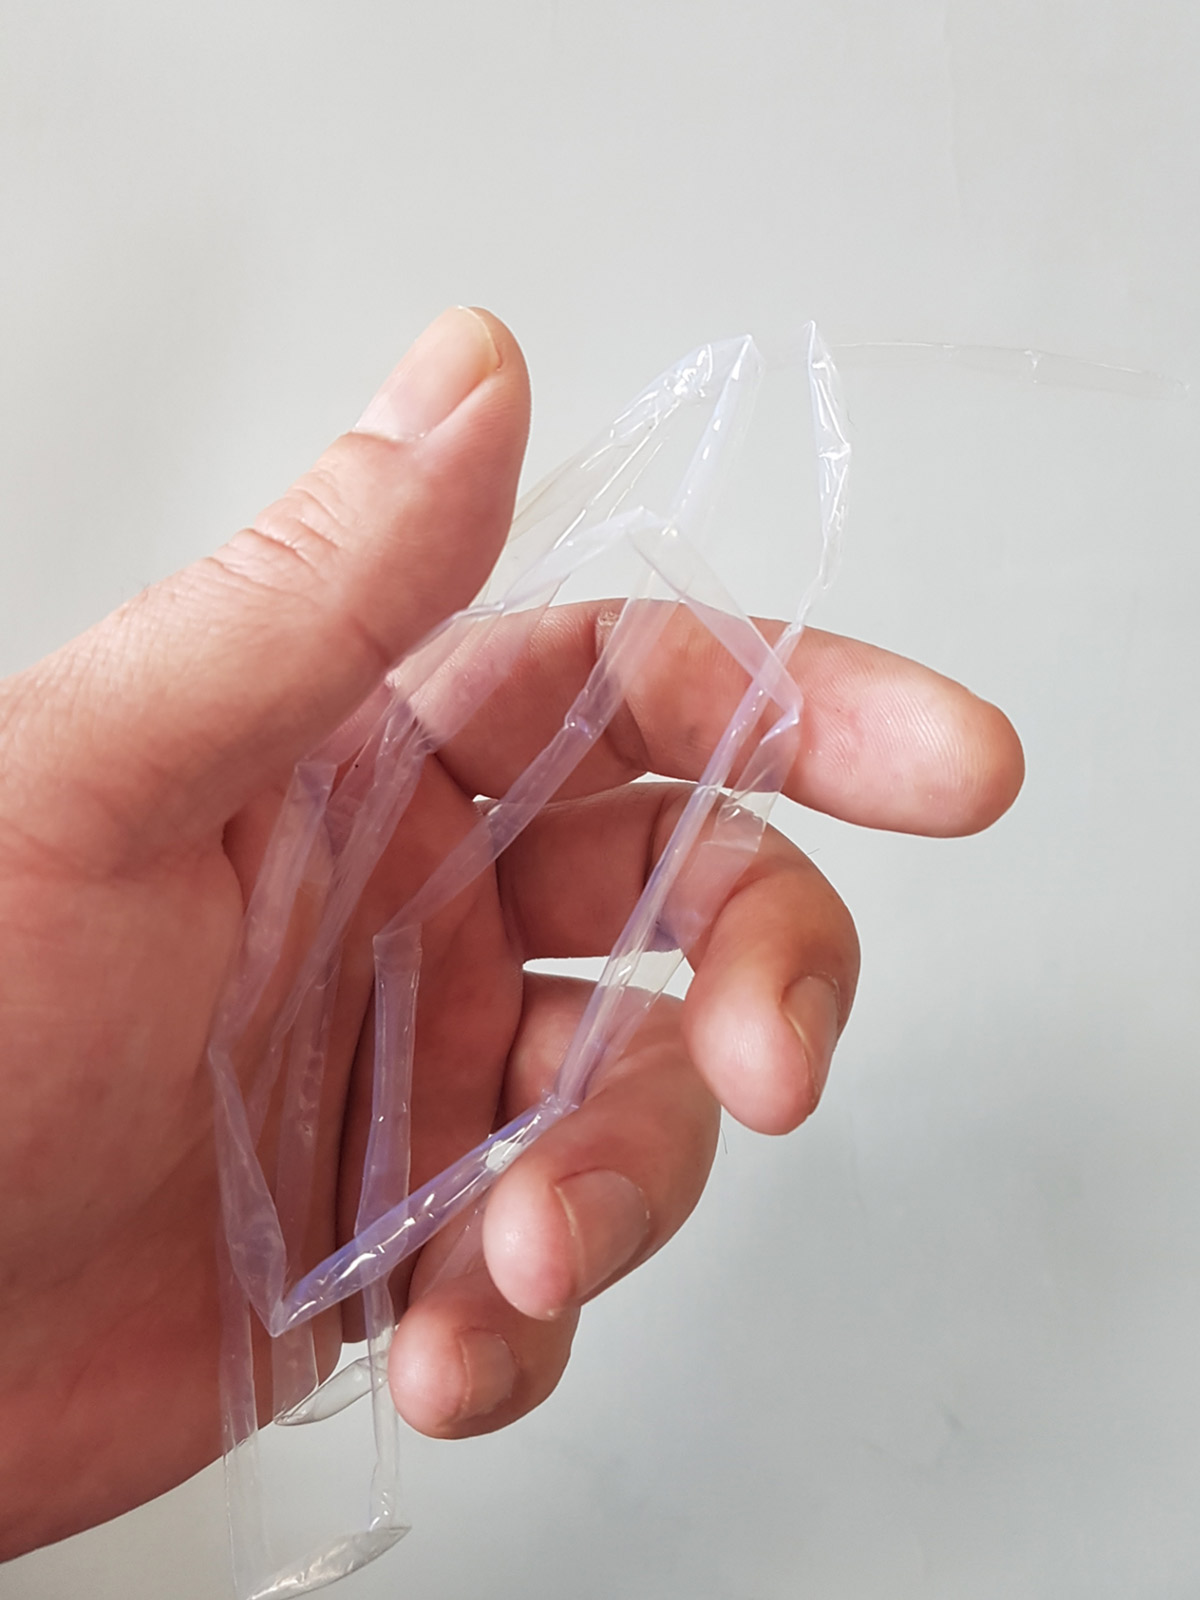
You might be tempted to try this with standard heat shrink tubing (Polyolefin). While it’s not strictly impossible, I highly suggest avoiding it.
In my experience, standard tubing is very frustrating to work with for this purpose. When you pull it, it tends to snap rather than stretch smoothly. It lacks the ductility needed to form a long, consistent capillary tube. For high-stakes work like jewelry repair or PCB assembly, you need a material that behaves predictably.
The Solution: PTFE (Teflon) Tubing
- Material: PTFE (Polytetrafluoroethylene)
- Ratio: 4:1 Shrink Ratio
- Diameter: 4mm
PTFE becomes much more pliable at high heat. While it still requires a careful touch, it stretches plastically like taffy, making it significantly more manageable to draw into a fine, hollow needle shape without breaking.
My Setup: Finding the “Sweet Spot”
This part relies on “feel,” but here is the setup that works best for me.
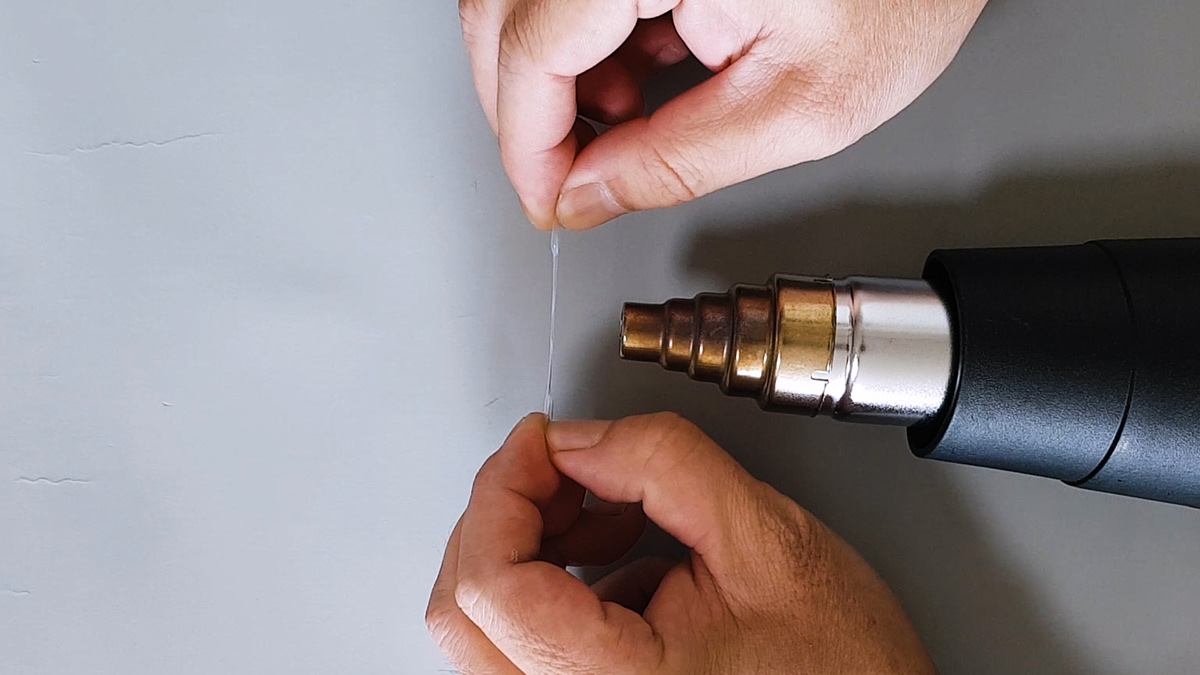
- Temperature: I set my heat gun to around 330°C (approx. 626°F).
Note: PTFE needs high heat. You might need to adjust based on your specific tool, but 330°C is the golden starting point. - The “Stretch”: Rotate the tube in the heat stream. Once it feels soft, gently pull both ends apart. You are creating a microscopic capillary.
- Cooling: Once you achieve the desired thinness, move it away from the heat but maintain tension until it cools completely.
The Result: Surgical Precision
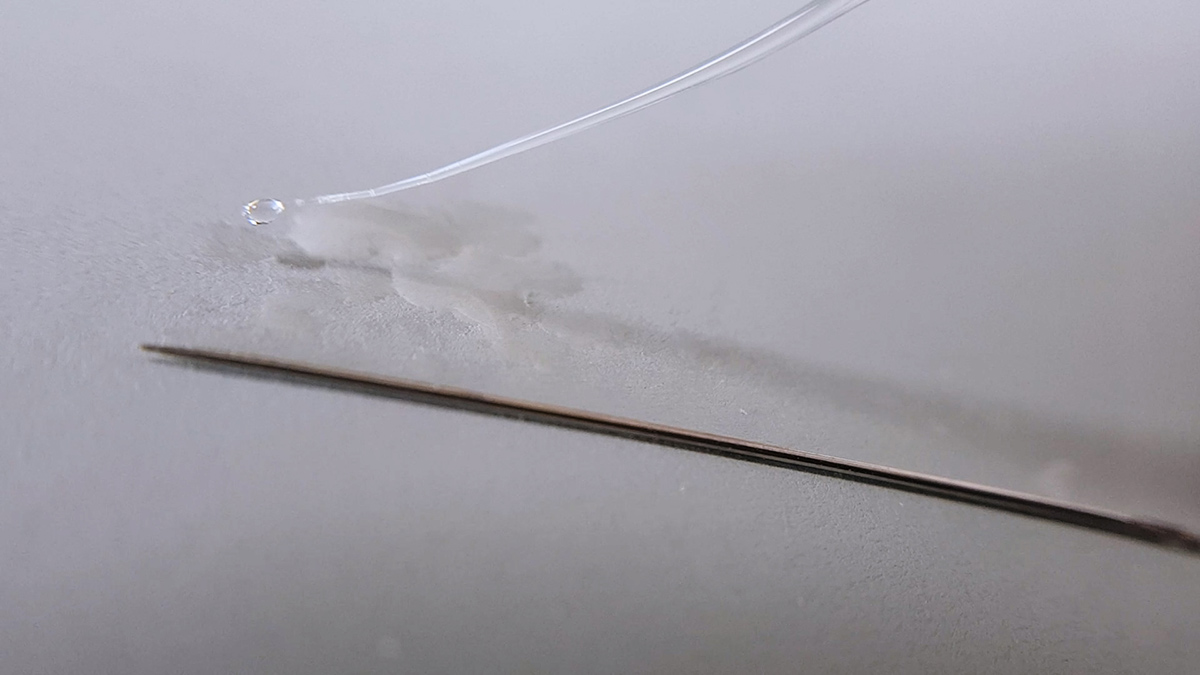
Cut the stretched section and slip it over your glue bottle.
The result is a tip comparable to a hypodermic needle. It allows you to deposit amounts so small, it’s like a “mosquito’s tear.” This is the secret to bonding clear plastic parts without fogging or fixing electronics without shorting components.
[Watch the Full Process]
Words can only explain so much when it comes to the “feel” of the stretch. To see the exact timing and the subtle movements, check out the video below.