The day my angle grinder revealed more than just rust.
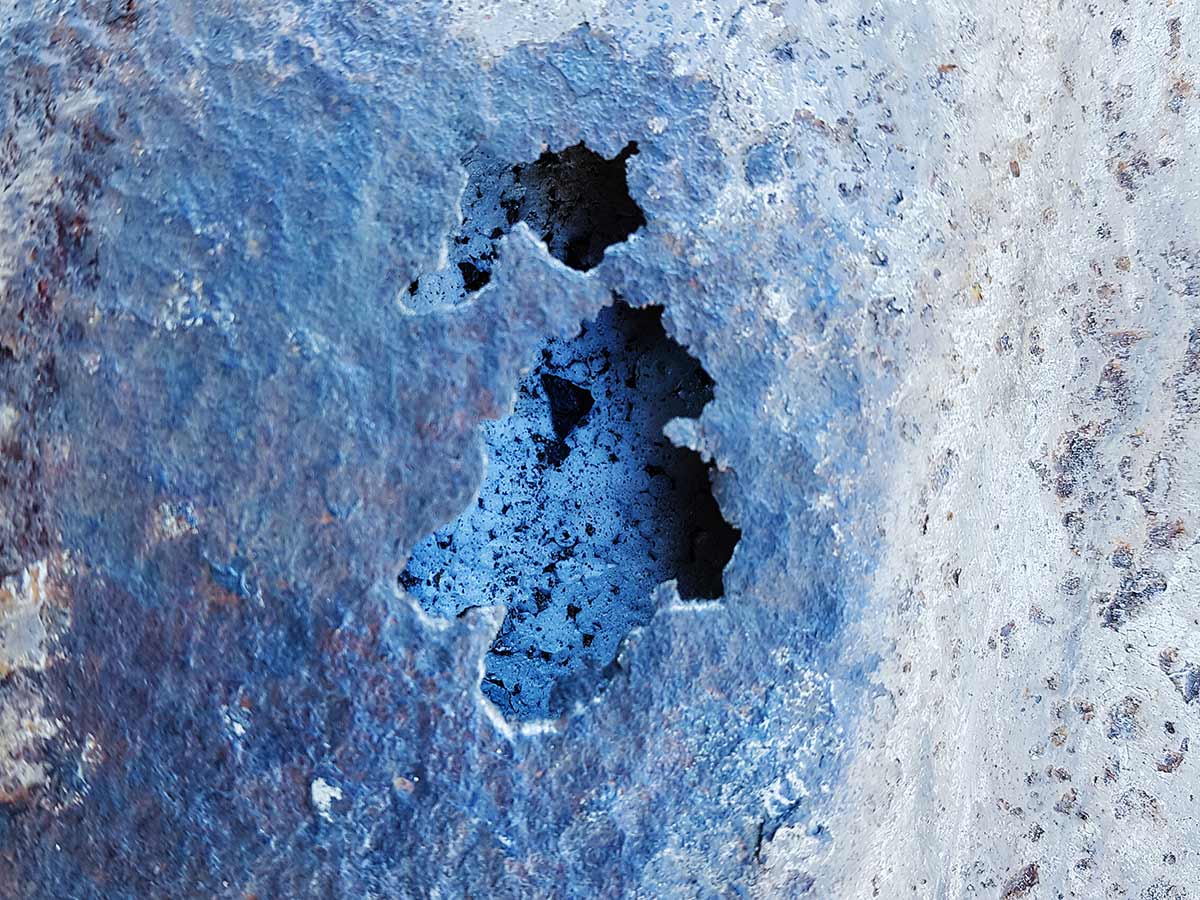
It started as a typical weekend warrior project: routine maintenance on my container roof. The plan was simple—grind off some surface rust, slap on a new coat of paint, and call it a day. But as the grinder sang its song, the rust gave way to… nothing. Chunks of paper-thin steel just disintegrated, revealing a constellation of ugly, gaping holes. My simple paint job had just escalated into a full-blown waterproofing crisis.
Welding was out. The styrofoam insulation just beneath the steel was a fire hazard waiting to happen. I needed a fix that was strong, simple, and wouldn’t turn my container into a giant tiki torch. The answer? Epoxy putty.
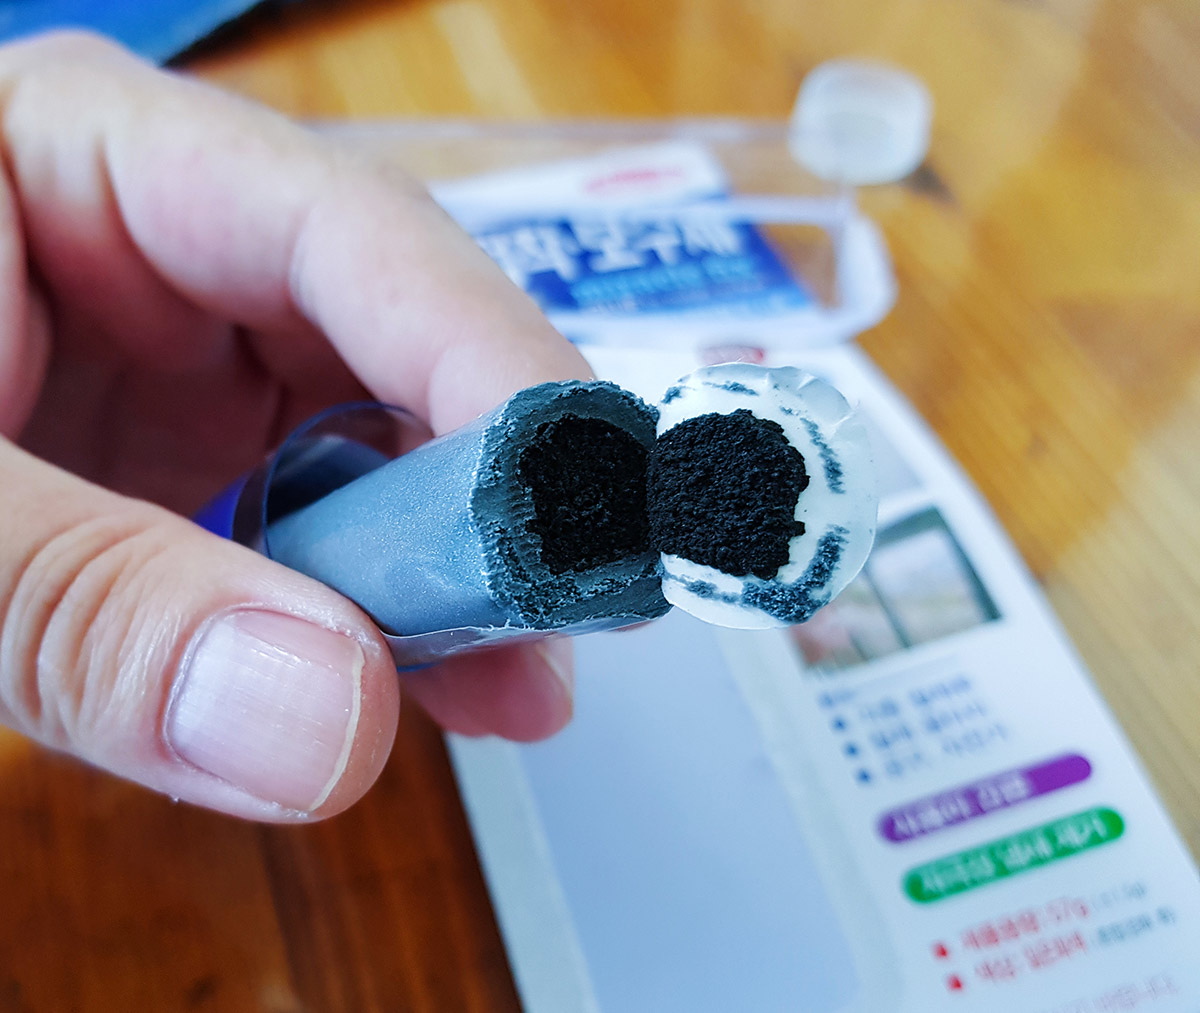
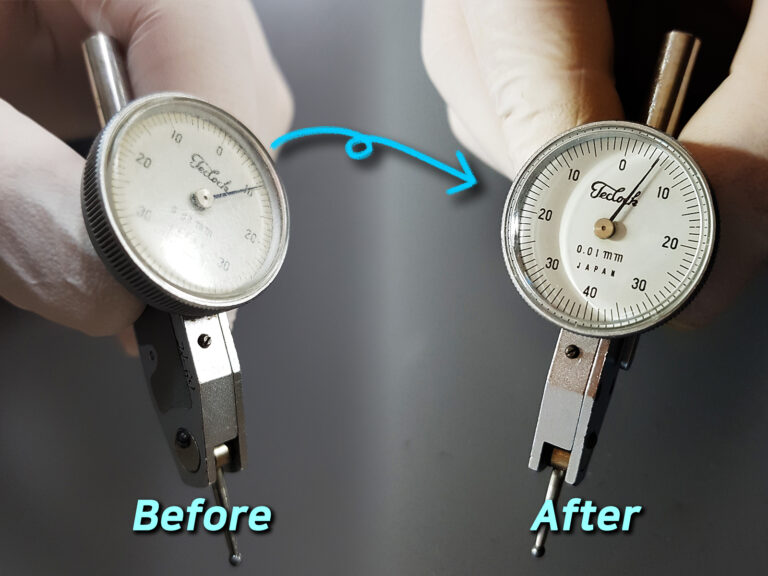
Now, I’ve used my fair share of these two-part epoxy sticks. In Korea, I grabbed a product called ‘Miracle Fix(미라클픽스)’ mostly because I liked the ridiculously optimistic name. But let’s be honest, the brand doesn’t matter much. Whether it’s J-B Weld, Loctite, or some other brand, they’re all pretty much the same magic clay. The real trick isn’t in the putty itself. It’s in how you reinforce it.
The Technician’s Secret: Reinforce Epoxy Like It’s Concrete
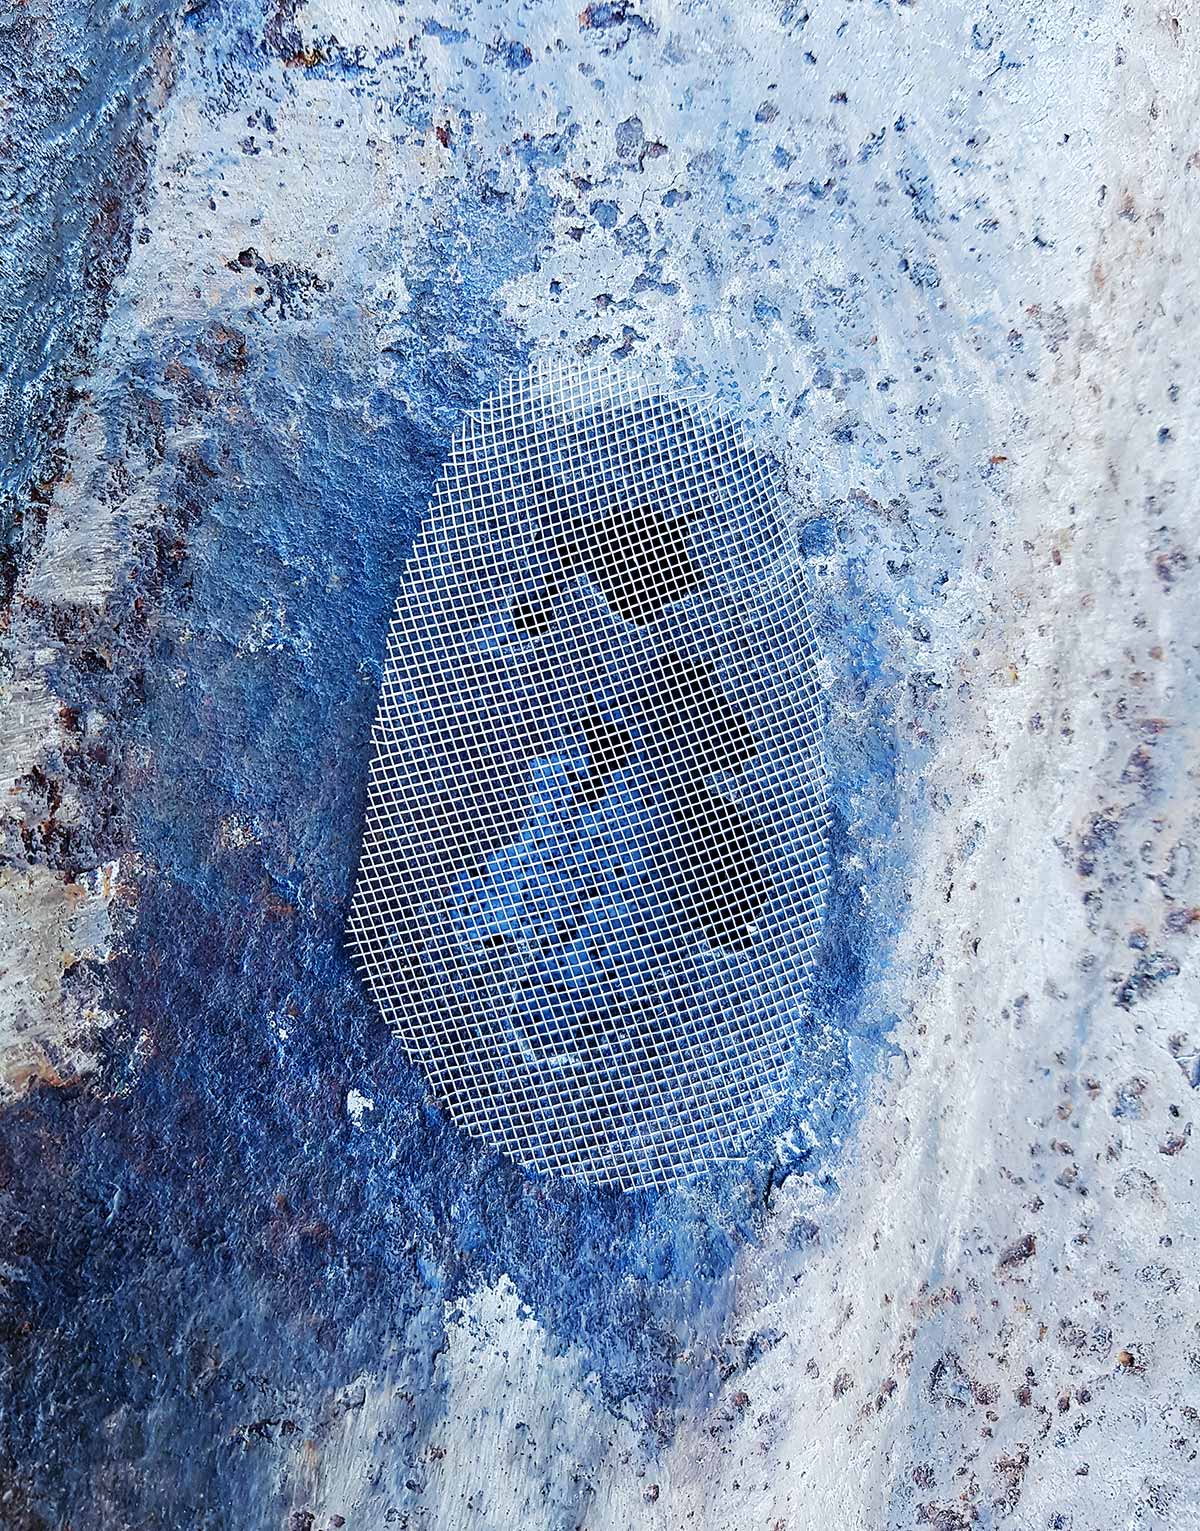
Here’s a little trick I’ve been using for years, and it’s never failed me. Think about concrete. On its own, it’s strong, but brittle. What makes it a building block of civilization? Steel rebar. We’re going to apply the exact same principle to our epoxy patch. Our rebar? A simple piece of stainless steel window screen.
This little addition does two crucial things:
- Drastically Increases Tensile Strength: It creates a strong, flexible skeleton within the epoxy, preventing cracks and failure under stress.
- Saves Material (and Money): Epoxy putty isn’t cheap when you consider its price per gram. The mesh bridges the gap, allowing you to use less putty to achieve a far stronger result.
The method is what makes it so strong. Instead of placing the mesh over the hole and then trying to smother it with putty, you pre-fabricate a reinforced patch. First, cut your mesh to size, then wrap it completely in a thin, even layer of the kneaded putty, like you’re making an armored ravioli with a steel mesh core. Then, you press this entire putty-encased patch onto the hole. It creates a single, incredibly tough unit.
If my ‘armored ravioli’ explanation went over your head, don’t worry. This short clip makes it all crystal clear.
The Repair Job, Step-by-Step
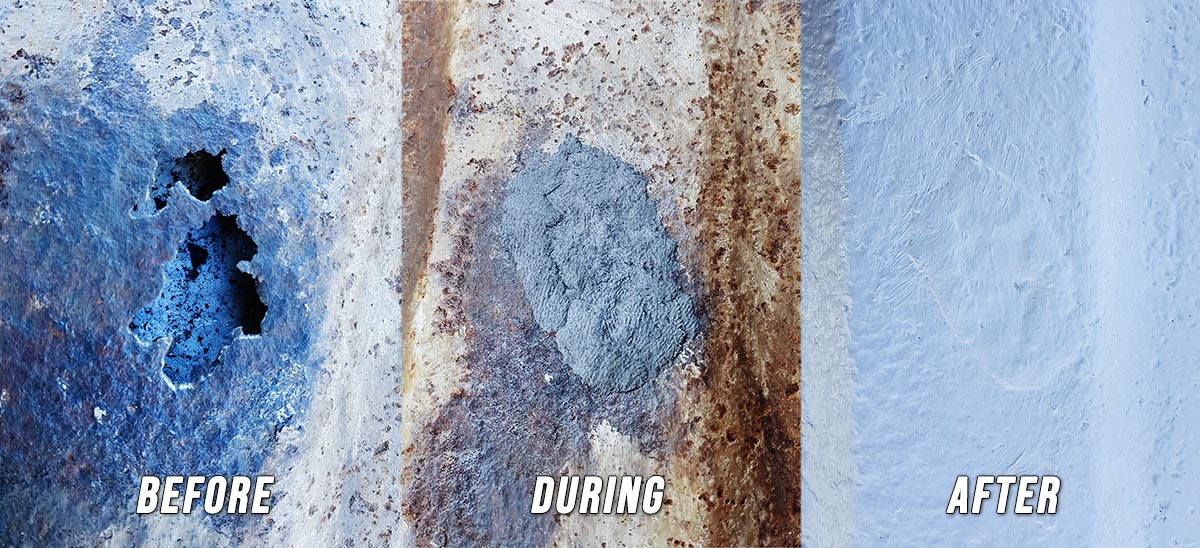
After about 25 hours of curing, followed by a proper paint job, the results speak for themselves. The patched area is arguably stronger than the original steel ever was.
Here’s a quick before-and-during-after look at the battlefield.

The work itself is quick, almost too quick. The short pot life (working time) of the putty means you have to move fast. But thanks to this method, what could have been a difficult welding job or an expensive panel replacement turned into a straightforward and permanent fix.
The project was finally completed after I filled these major holes, sealed the finer seams with urethane sealant, and applied a final coat of urethane paint. A few days later, the rain came. I checked inside—bone dry. Mission accomplished.
It might not be a “miracle,” but this trusty hack certainly pulled its weight.