Disclosure: This post may contain affiliate links. If you make a purchase through these links, I may earn a small commission at no extra cost to you. Thank you for your support.
Old but Gold?
I still own a Canon EOS M3, a mirrorless camera released back in 2015.
It has been with me for over a decade. It features a 24.2 MP APS-C sensor and uses the now-discontinued EF-M mount.
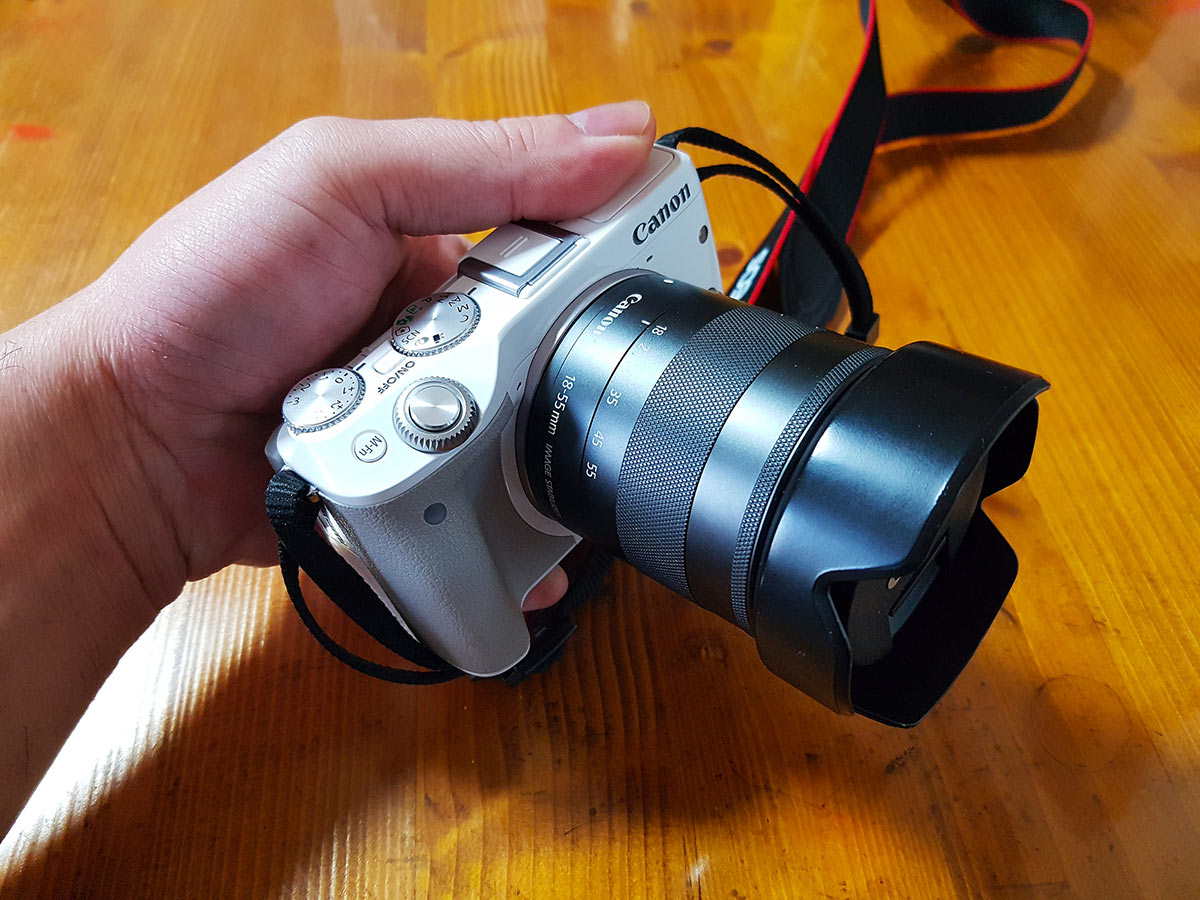
By today’s standards (2026), its specs are ancient history. The autofocus is slow enough to make you brew a coffee while waiting, and it only supports Full HD (1080p) video. But for me, it’s a trusty companion that has captured countless memories without fuss.
However, there is one fatal flaw that drives me crazy: Battery Life.
The Battery Nightmare
For photography, the stock LP-E17 battery is “okay”. But for video? It’s a disaster.
When I try to record long-form videos for YouTube, the battery dies in less than two hours. It is frustrating to stop everything, wait for a recharge, and lose the flow.
So, I decided to perform a little surgery. I bought a “Dummy Battery” from AliExpress to connect it directly to an external power source.
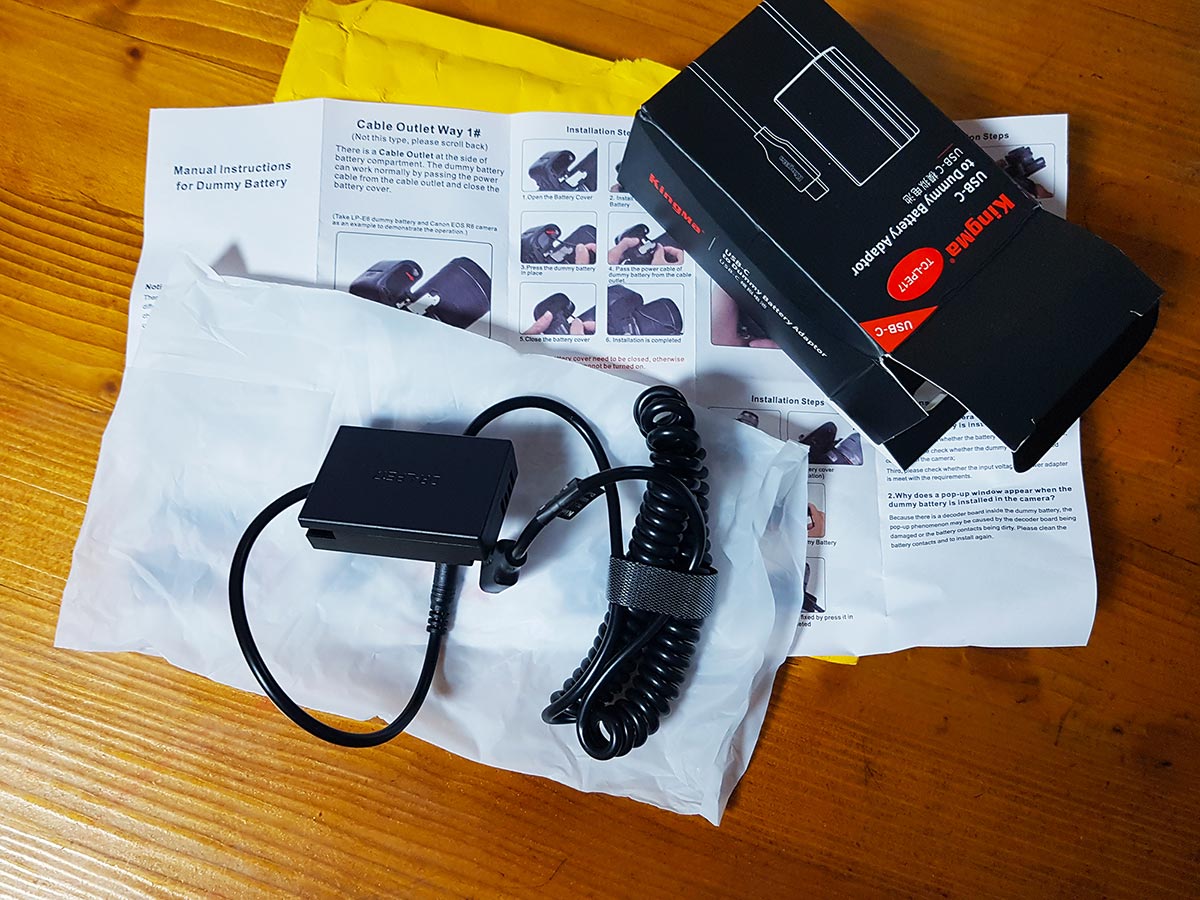
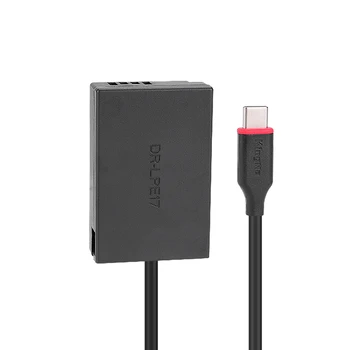
- Product: Type-C to LP-E17 Dummy Battery (Compatible with DR-E17 / ACK-E17)
- Current Price: Approx. $20 – $30 (Prices vary by region and seller)
- Note: I bought mine a while ago for cheaper, but inflation seems to have hit these niche parts too. Even at $30, it is still significantly cheaper than the official Canon AC adapter kit.
Why Cable Design Matters (Critical Tip)
Before you buy just any dummy battery, pay close attention to the cable orientation.
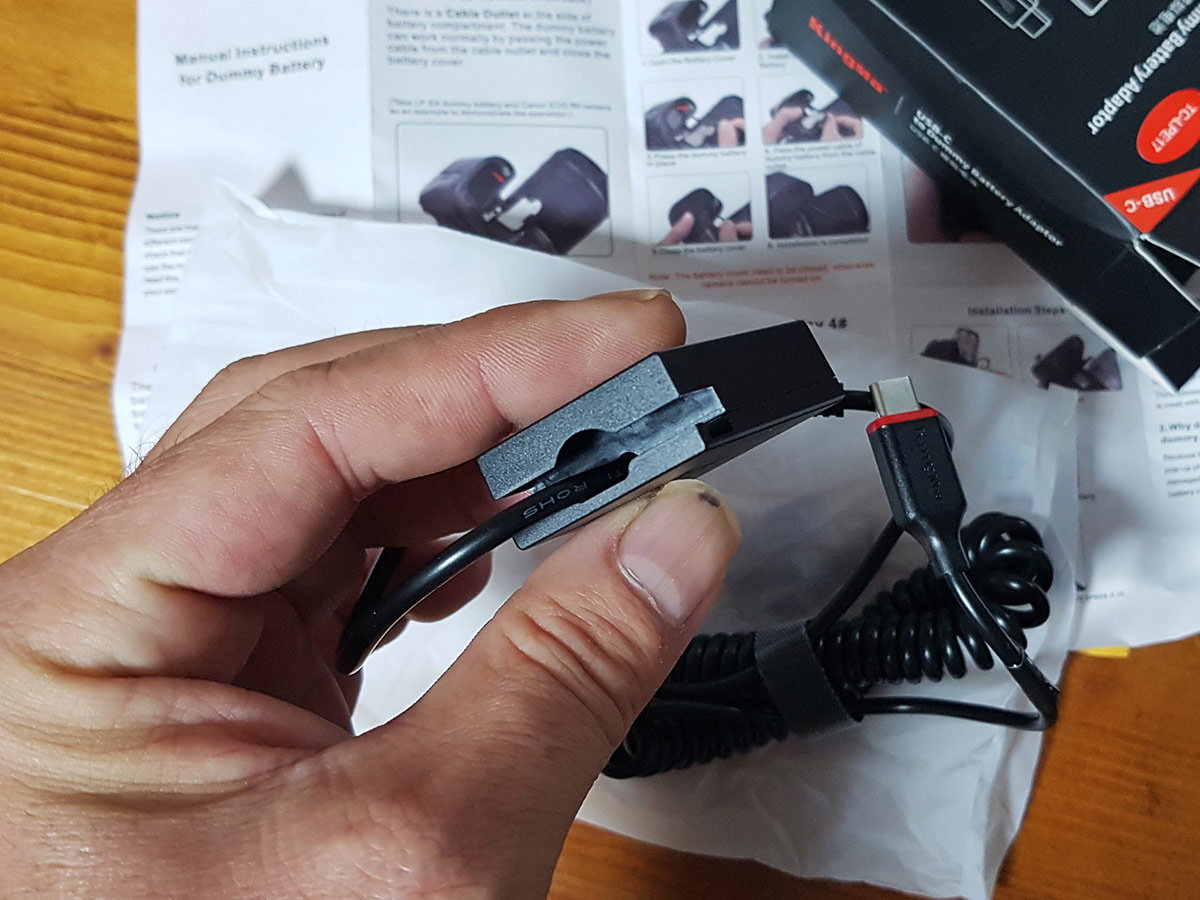
Many Canon cameras, including the M3, M5, and M6, have a small hidden flap on the battery door for the cable to exit. If the dummy battery’s cable comes out at the wrong angle or lacks the proper connector, you won’t be able to close the battery door.
And if the door doesn’t close, the camera won’t turn on (safety interlock).
So, always double-check if the dummy battery matches your specific model’s battery compartment design.
Installation: Plug & Play
The installation is straightforward, but I made a quick video to show you exactly how to route the cable through the hidden flap.
- Insert the dummy battery into the slot.
- Open the small rubber flap on the battery door.
- Route the cable through the hole.
- Close the battery door securely.
- Connect the USB-C cable to a PD charger or a power bank.

Note: This kit uses USB-C. You can power it with a wall charger (AC adapter) or a high-capacity portable power bank (PD supported), which makes it perfect for outdoor shoots too.
The Verdict: Freedom at Last
There is one minor quirk: The camera might not display the exact battery percentage. But who cares? It never dies!

Yes, having a cable dangling from your camera feels a bit awkward at first. It makes the setup look a bit “messy.”
But the ability to shoot continuously for hours without swapping batteries? It is a game-changer.
If you are using an old Canon camera for streaming or long video recording, stop suffering with 30-minute battery life. Spend the $20-$30. It is the best upgrade you can give to your aging gear.
“No more battery anxiety. Just endless shooting.”