The Unsung Hero of the Workshop
Whether you are a professional or a DIY hobbyist, you know the drill. Even for a simple project, you end up needing a mountain of tools.
Carrying them one by one? That’s inefficient and exhausting. Imagine grocery shopping without a cart—terrible, right?
That is why a “Rolling Tool Cart” is essential. It’s the trusty sidekick that carries your burden.
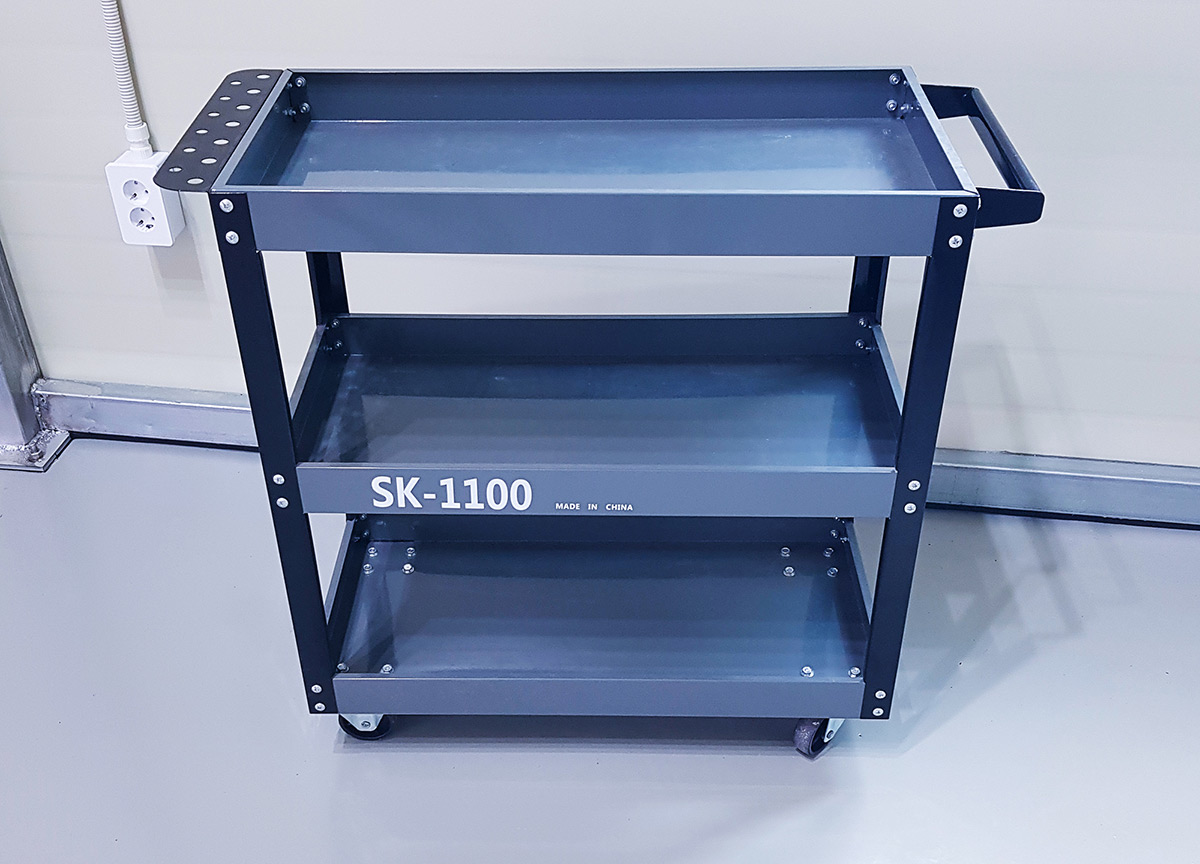
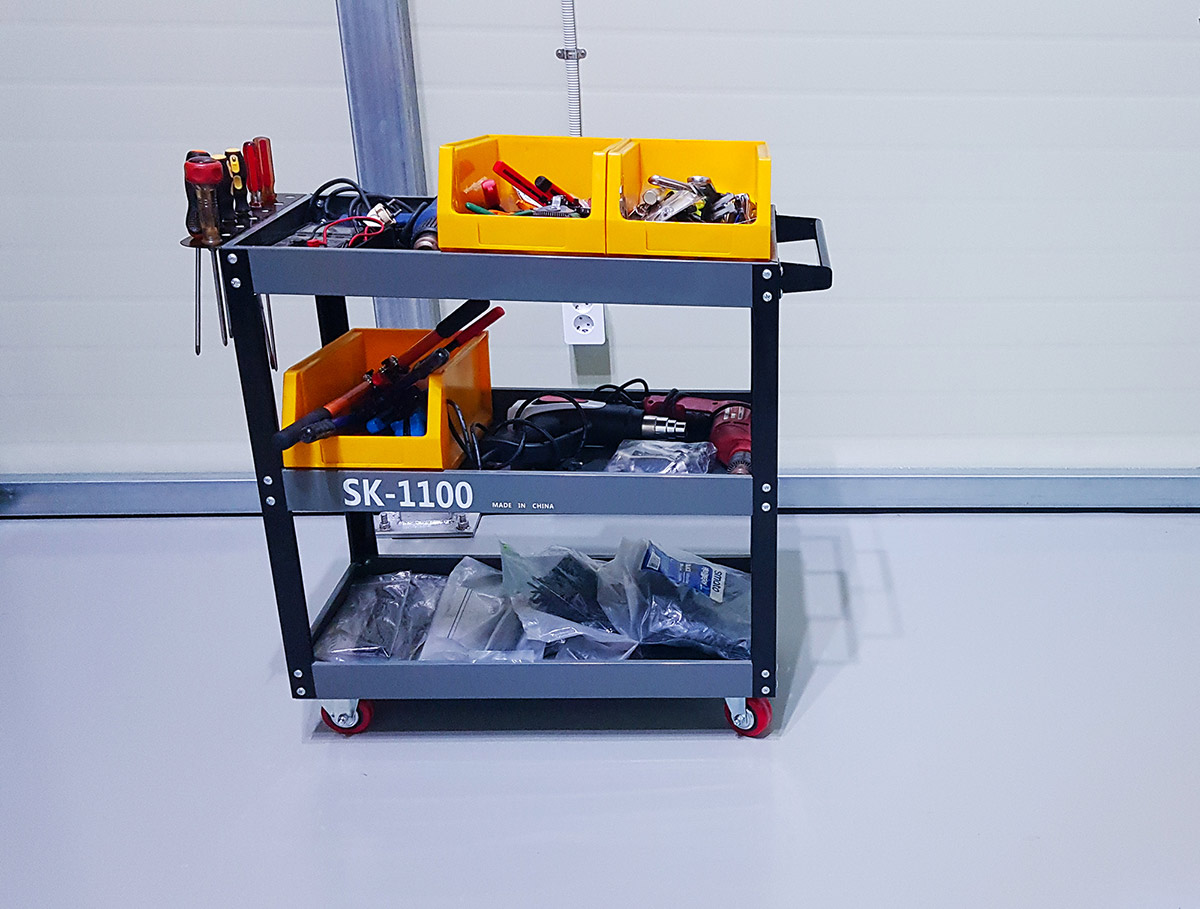
I bought a cheap 3-tier tool cart a while ago.
Being a self-proclaimed “clumsy technician,” I figured a budget-friendly option would suffice. And honestly, for the price, it wasn’t bad. It was light, easy to use, and perfect for rough handling.
But soon, a serious problem emerged.
The Floor Killer
One day, I noticed something horrifying. My precious epoxy floor—which I painstakingly coated myself—was getting scratched.
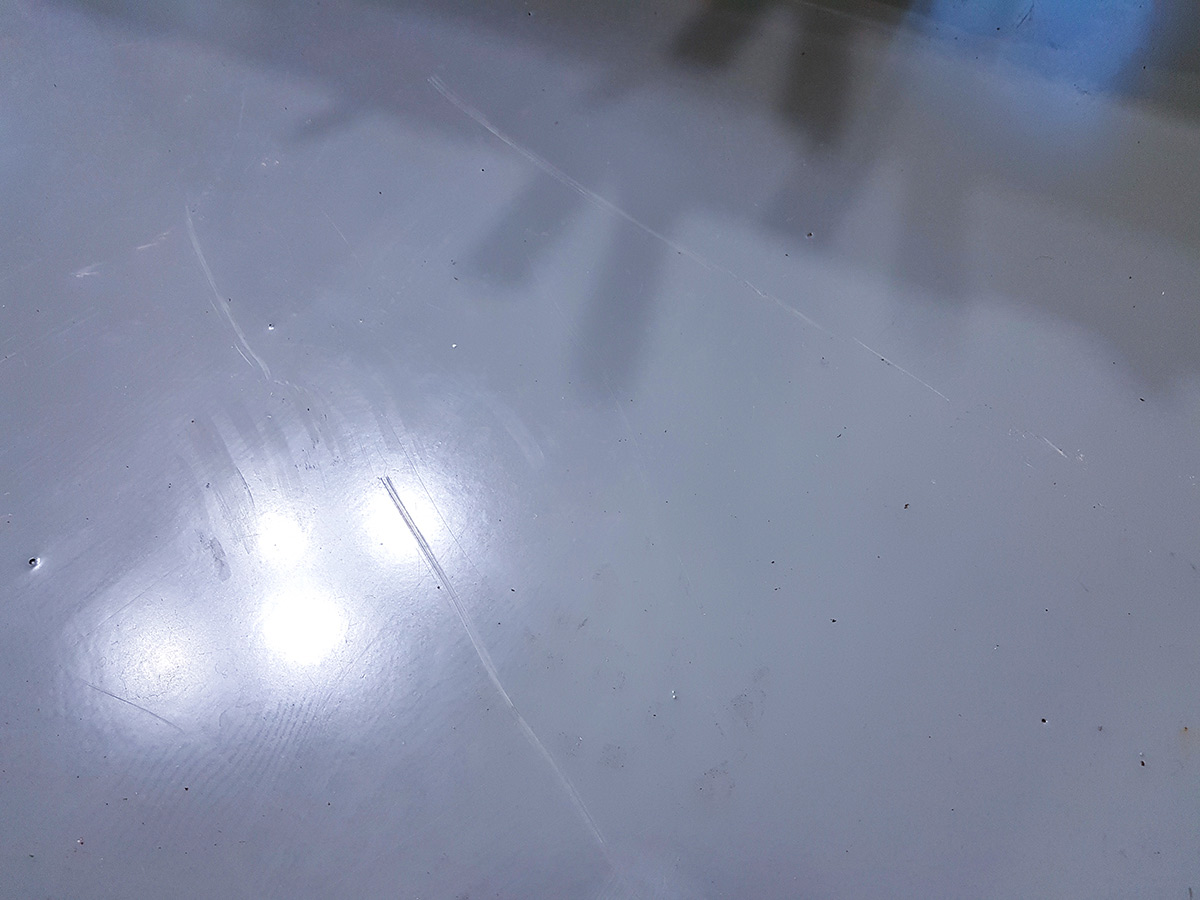
The culprit? The cheap plastic wheels.
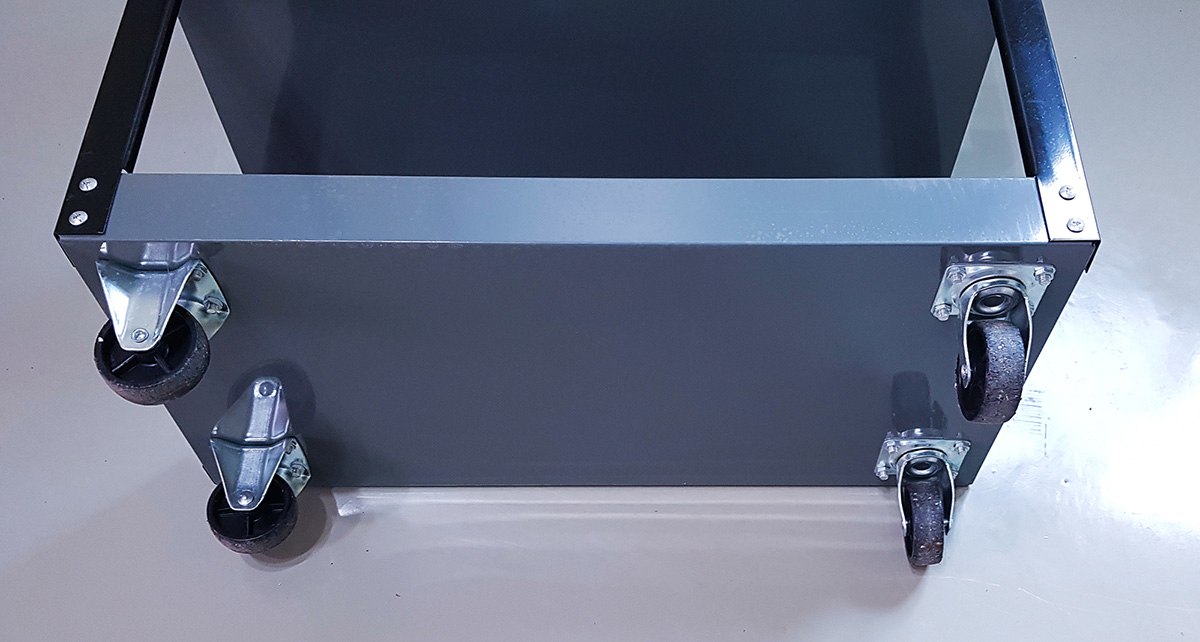
They had no bearings, just hard plastic rubbing against a metal shaft. They didn’t roll; they dragged. And when they dragged, they gouged my beautiful floor. Even for a rough guy like me, seeing those scars on the floor was heartbreaking.
So, I decided it was time for an upgrade. Plastic out, Rubber in.
The Challenge: Nothing Fits!
I initially looked for “bolt-on” replacement casters.
But as is often the case with these cheap imported carts, the bolt hole spacing was non-standard. I couldn’t find a matching set anywhere.
Drilling new holes in the cart base seemed like too much hassle and would weaken the structure.
My Decision: Replace only the wheels and keep the original brackets.
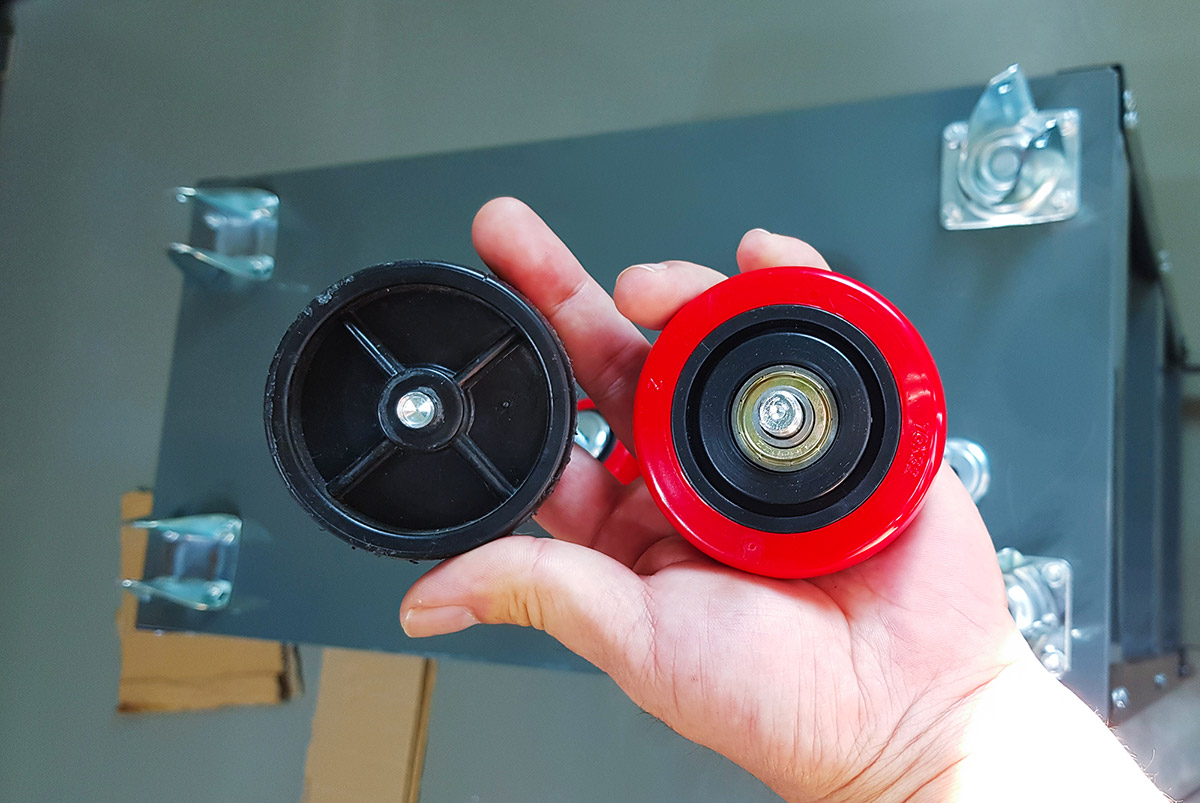
- Upgrade: 3-inch Rubber Wheels (PVC or Polyurethane)
- Cost: Approx. $10 for a set of 4
- Why: They have proper bearings and soft treads. No more noise, no more scratches.
The Hack: Making It Fit
Since I was keeping the old brackets but using new wheels, I ran into a few dimension mismatches. Here is how I solved them.
(Watch the video above for the full process!)
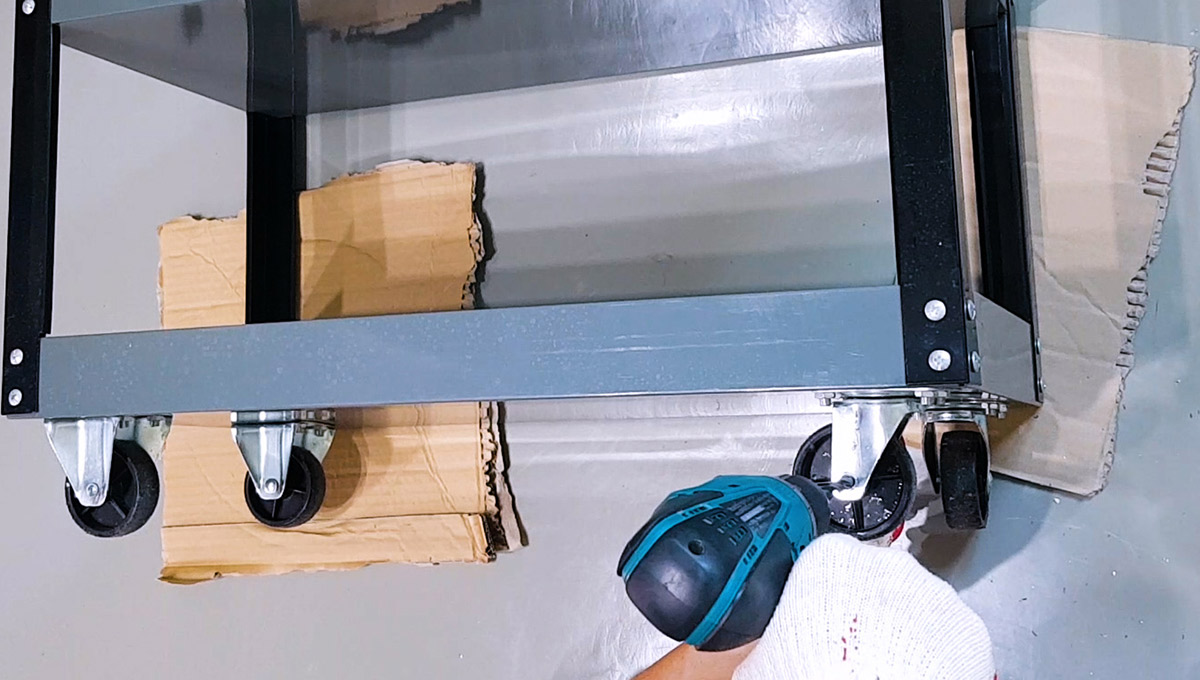
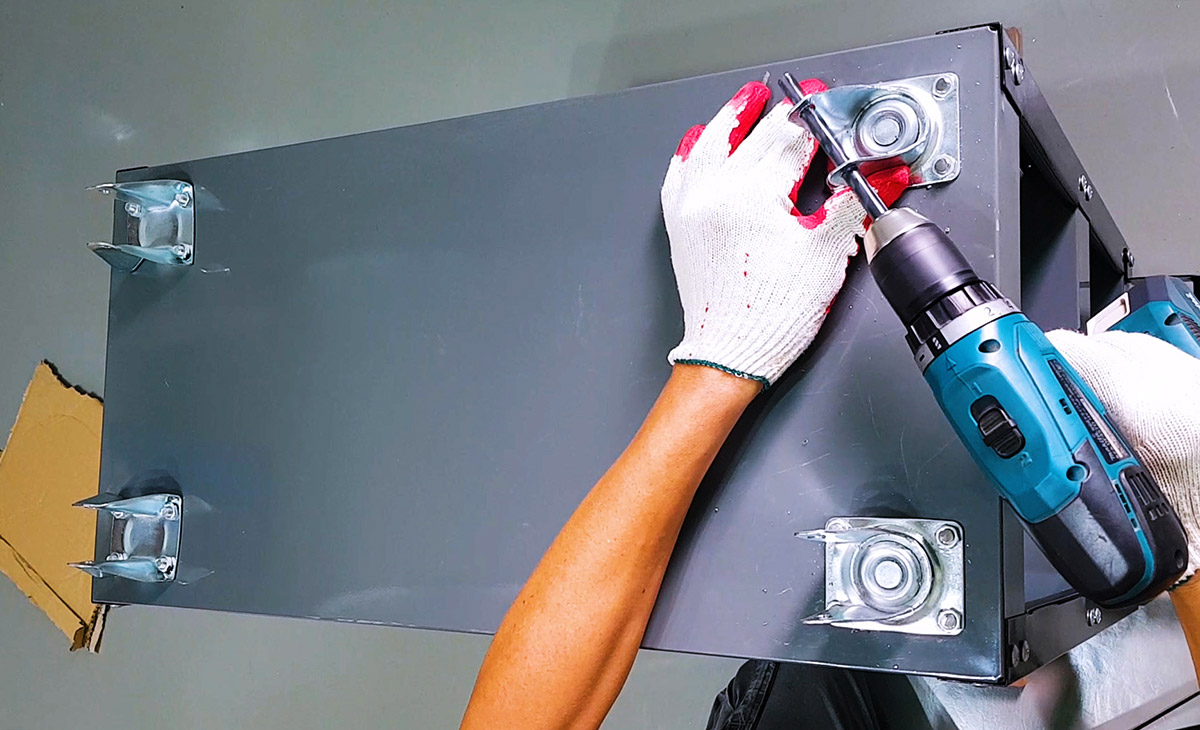
1. Removing the Old Wheels
The original wheels were held in place by rivets, not bolts. There was no way to unscrew them.
Solution: I drilled out the rivet heads to free the wheels.
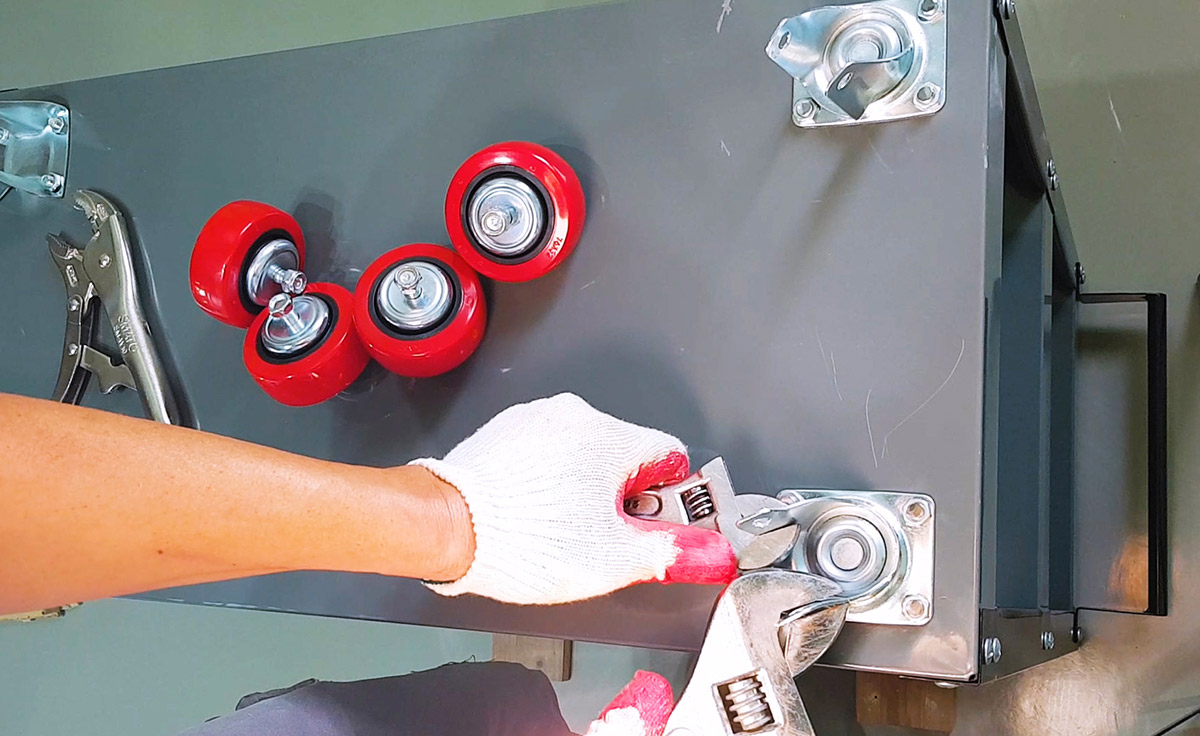
2. Widening the Bracket
The original bracket was too narrow for the new rubber wheels.
Solution: I used a monkey wrench (adjustable spanner) to bend the bracket outward. The metal was softer than expected, so it bent easily to accommodate the wider wheel hub.
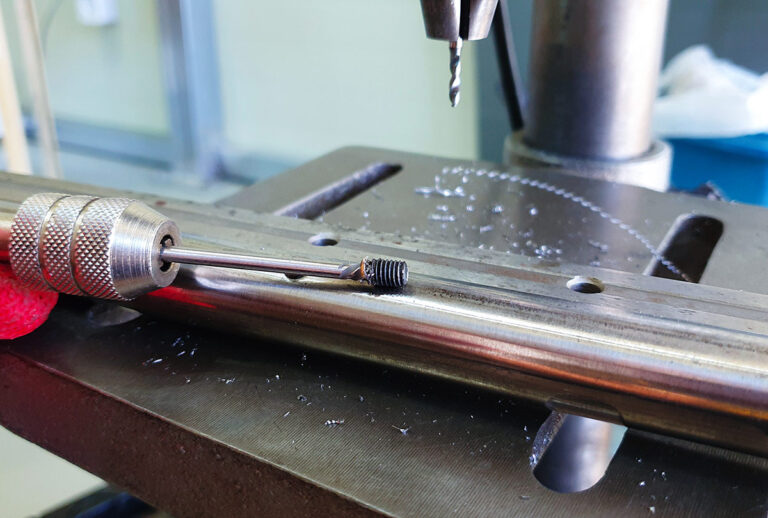
3. Enlarging the Shaft Hole
The new wheel’s shaft was thicker (3/8″ or approx. 9.5mm) than the original holes.
Solution: I drilled the bracket holes to 9.5mm to fit the new bolts.
The Result: Smooth Operator
After fitting the wheels and tightening the lock nuts, the difference was night and day.
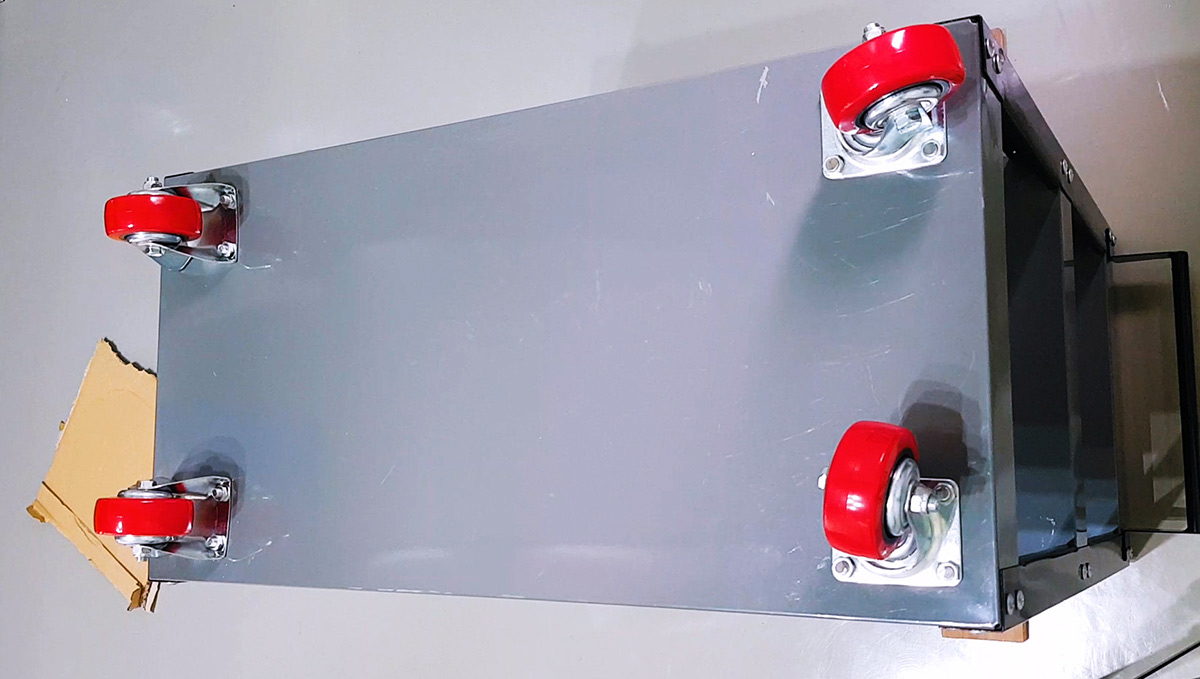
It now glides across the workshop floor silently. Most importantly, no more scratches on my epoxy floor.
If you have a cheap tool cart that rattles and drags, don’t throw it away. Just spend $10 on new rubber wheels. It requires a bit of drilling and bending, but the result is absolutely worth it.
“Save your floor, save your ears. Upgrade your wheels.”
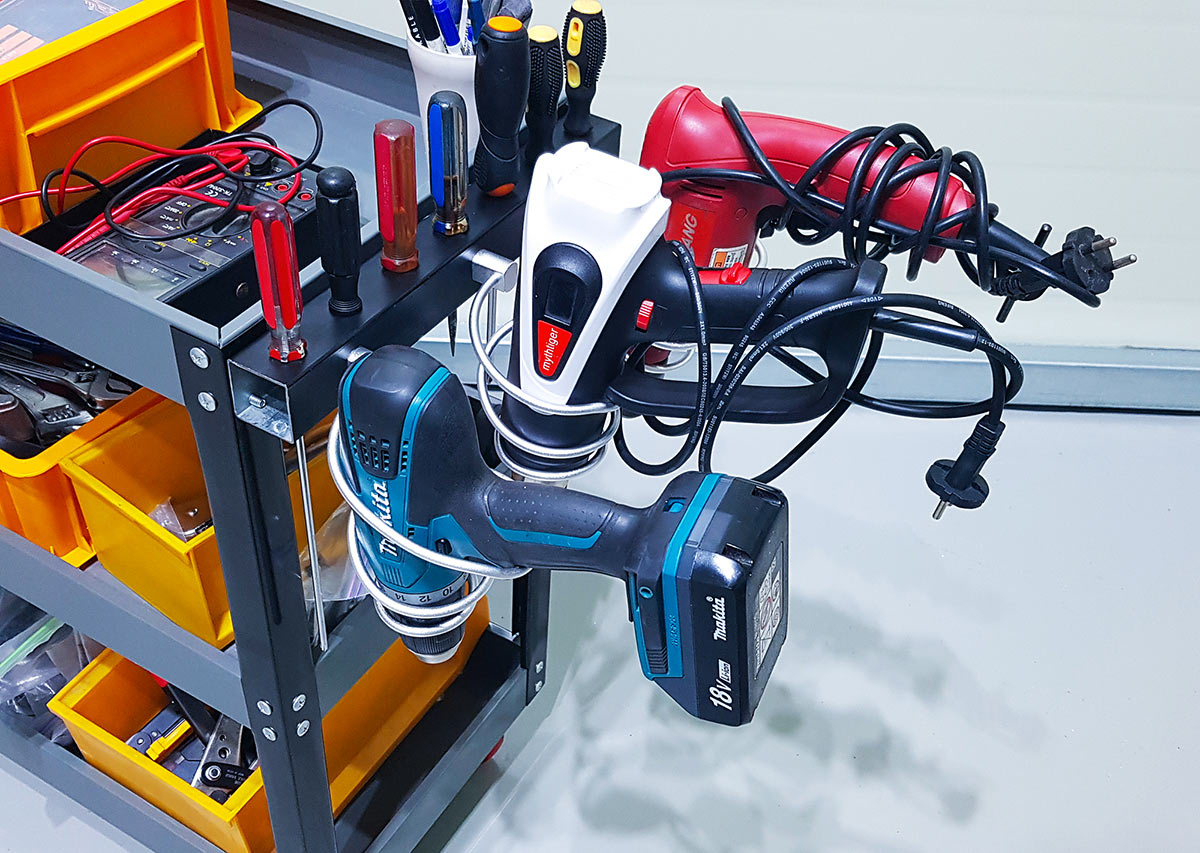
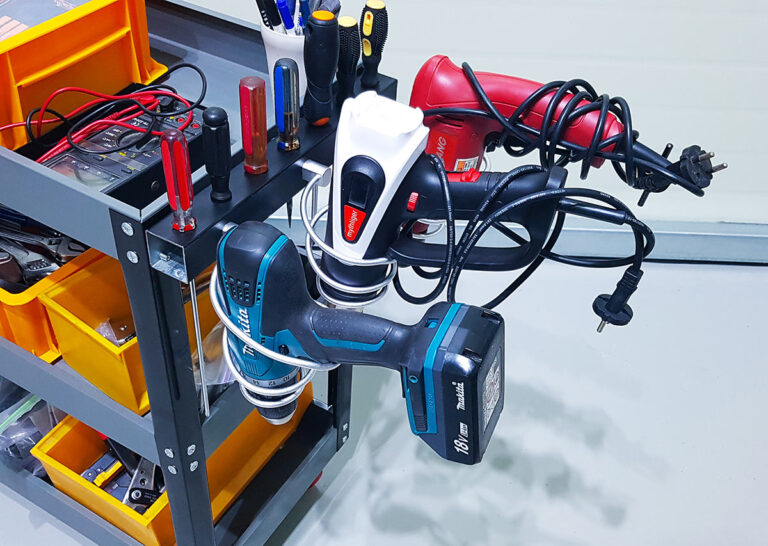
But as a “clumsy old technician,” I just can’t leave it at that. Once the cart rolled smoothly, I noticed another problem: the chaos inside the trays. Check out Part 2 to see how I organized my drills using… hair dryer holders?